.png)
 By
By  4:53 PM

 | ||
2013 Christmas Black Forest cake! There's been a lot of change in this one compared to the 2012 version..
|

 |
| Second layer of cream over the cherries.. |
 |
| Sandwiched all the layers of the cake with the cream oozing out the sides! Doesn't this make you crave some cake? It sure does for me.. |
 |
| Looks a bit like a tiramisu in this one! Perhaps that should be my next recipe.. What do you think?! |
 |
| Ahh.. Cocoa! |
 |
| Added the signature Black Forest cake cream lining! I've never seen a Black Forest cake without the piped rosettes.. |

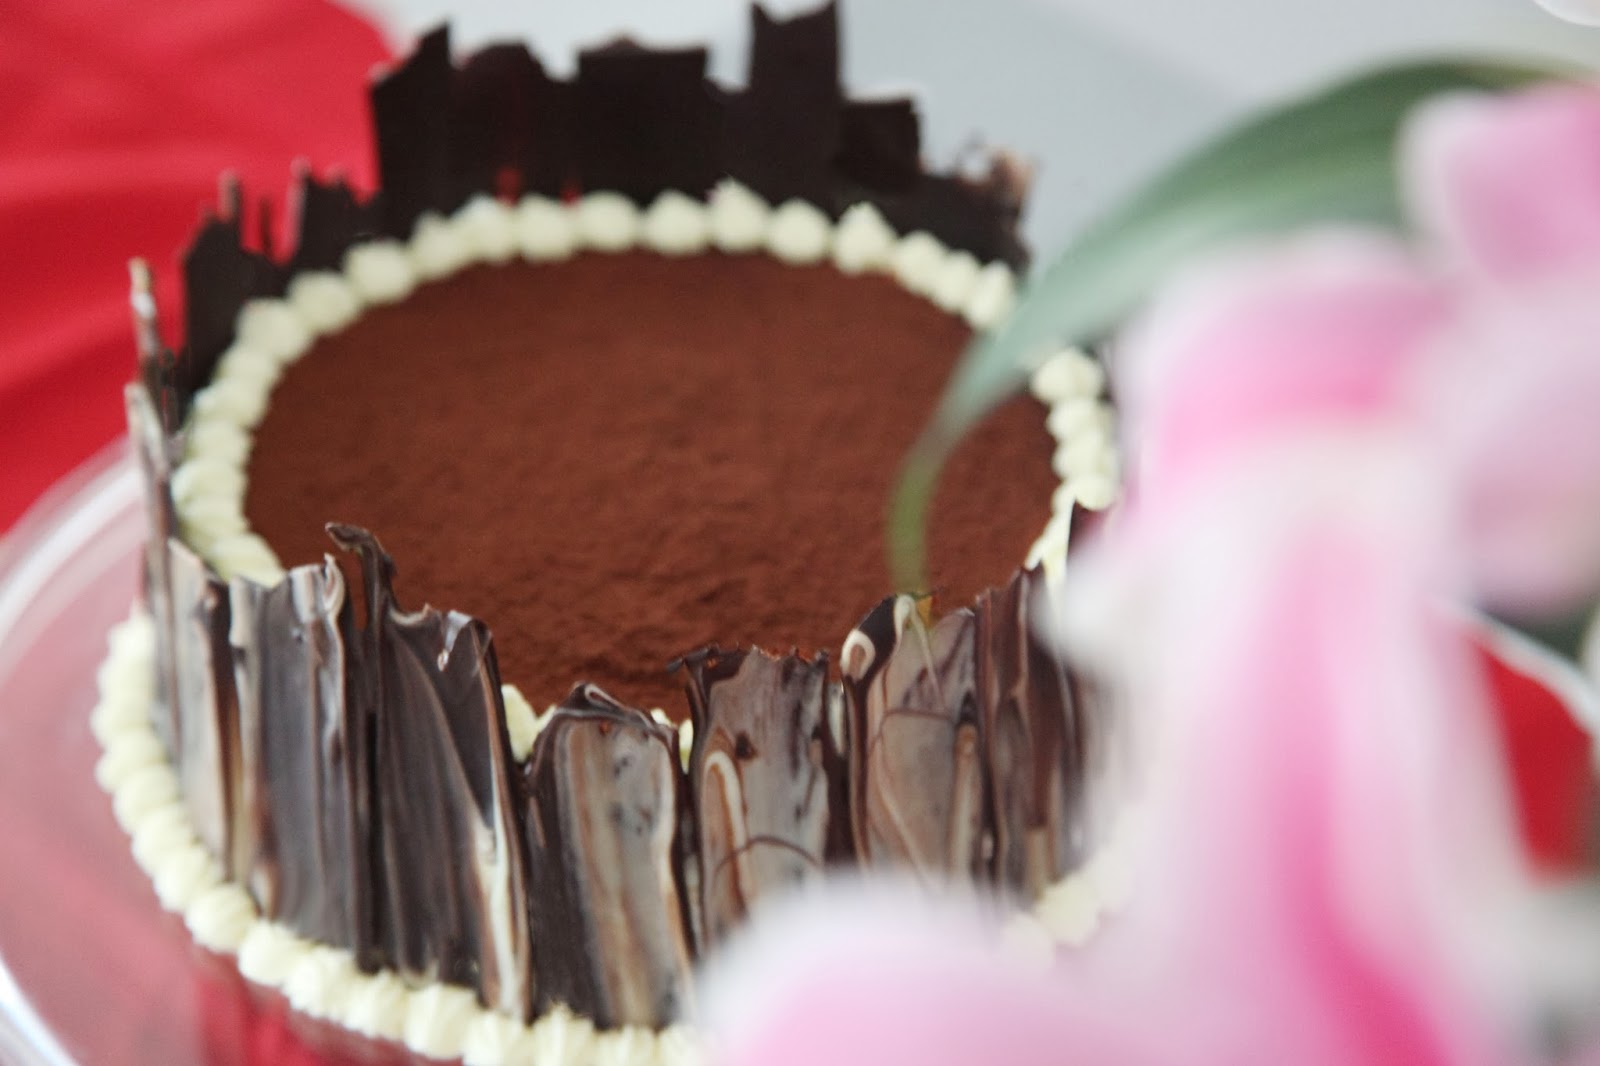 |
| The finished cake! Looks cute, don't you agree? I'm quite a fan of simplicity, and a simple, modern cake with slight traditional features is ideal! |
BLACK FOREST CAKE

- 470g packet chocolate cake mix (I used White Wings Classics Moist Chocolate Cake box mix)
- 670g jar of morello cherries
- 2 tbs caster sugar
- 1 tbs cornflour
- 1/2 cup icing sugar
- 600ml thickened cream
- 200g good quality dark cooking chocolate
- 100g good quality white cooking chocolate
- 1/2 cup Dutch cocoa powder

Prepare and bake the chocolate cake mix following packet directions. Turn onto a wire rack to cool completely. Use a large serrated knife to cut the cake horizontally into 3 even layers.
Drain the cherries, reserving 160ml (2/3 cup) of the juice. Place the cherries and the reserved juice in a saucepan with the sugar and cornflour. Stir over medium-low heat until the mixture boils and thickens. Transfer to a large bowl. Cover with plastic wrap and place in the fridge to chill.
Use an electric beater to beat cream and icing sugar in a medium bowl until firm peaks form.
Place 1 cake layer on a serving plate and spread with half of the cherry mixture and a thin layer of the cream. Repeat with the remaining cake, cherry mixture and cream, finishing with a layer of cake.
Spread some of the remaining cream over the top and side of the cake. Using a sieve, cover the top of the cake with Dutch cocoa powder. Place the remaining cream in a piping bag fitted with a 1cm fluted nozzle and carefully pipe rosettes around the edge of the cake. (Note: piping slowly will minimise the moving of rosettes on the cocoa powder).Chop the chocolate into small pieces, and set aside 25% of both white and dark chocolates. Place the remaining chocolate in separate bowls and microwave on half power. Stir the mixture every half minute until it is almost completely melted (approximately 2-3 minutes).
Remove the bowls of chocolate from the microwave and stir to cool slightly. Add the reserved chocolate into their respective bowls and stir the chocolate until everything is melted. The dark chocolate should reach approximately 46C - 48C and white chocolate 36C - 43C.
Spread the tempered dark chocolate onto a large sheet of baking paper, shaping it until it reaches approximately 50cm x 10cm x 3mm. Leave to cool for 5 minutes, then spread the white chocolate on top.
Using a butter knife, split the chocolate into even strips for easy removal when solid. Place the sheets of chocolate in the fridge to solidify.
Remove the chocolate pieces from the baking paper and press onto the sides of the cake, making sure to alternate the heights of the pieces for a more contrasting effect. Cut and serve the cake.
- Rachel
<a href="http://www.bloglovin.com/blog/11454585/?claim=jup3zypdefz">Follow my blog with Bloglovin</a>


0 comments